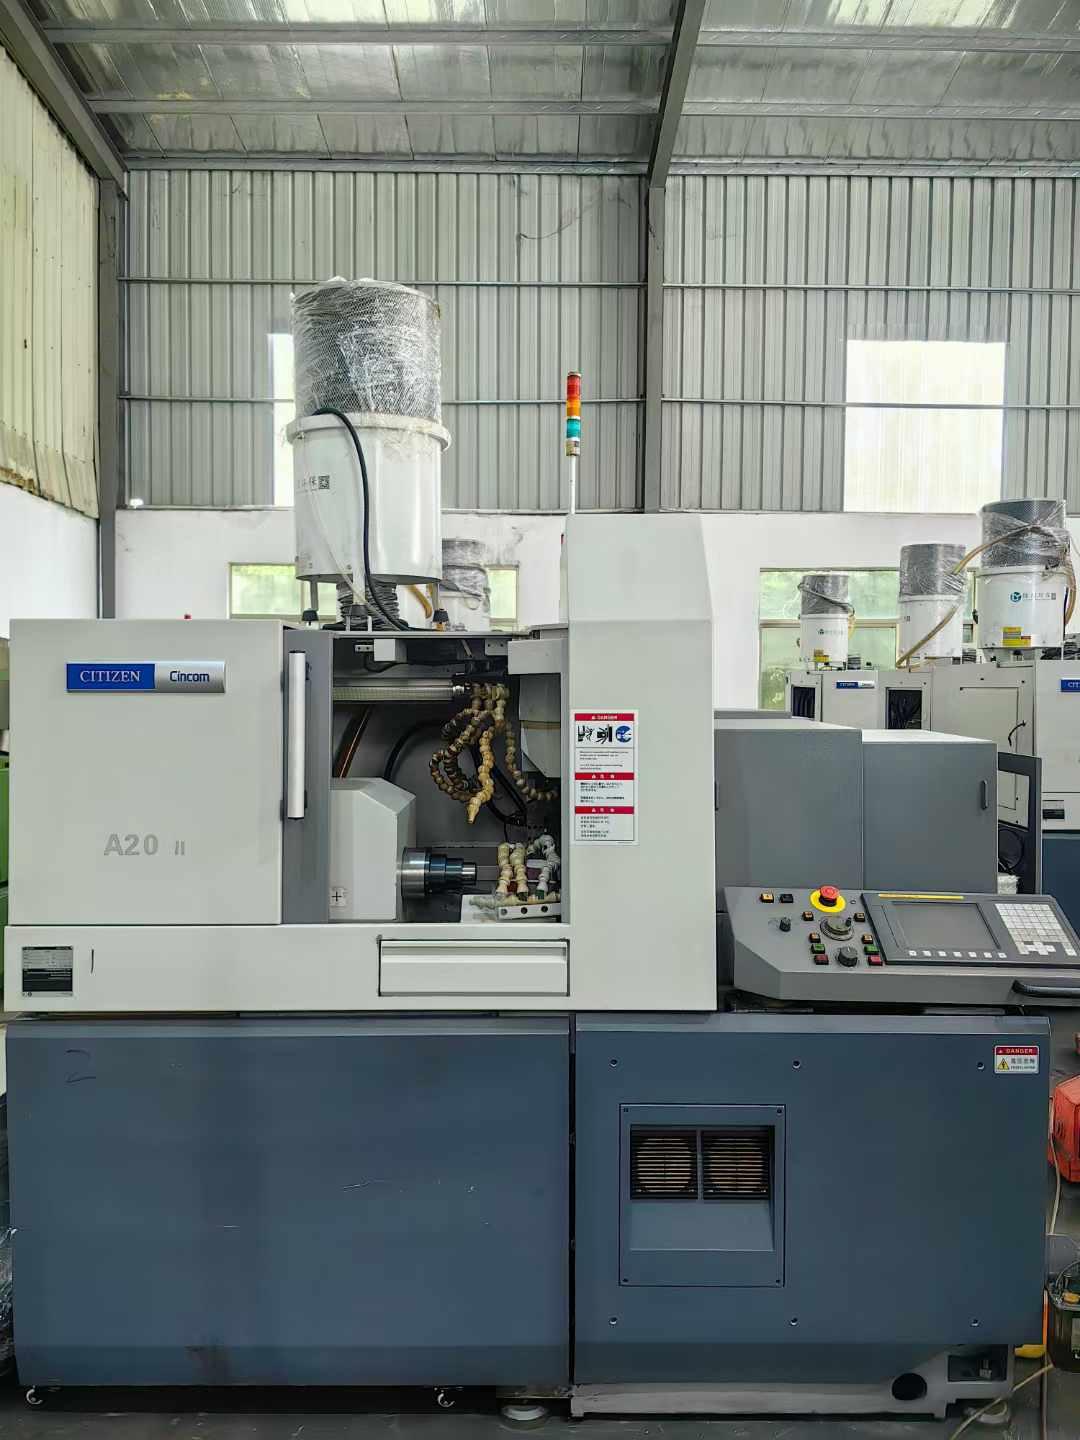
How to evaluate the machining accuracy and performance stability of second-hand walking machines?
Here are some methods for evaluating the machining accuracy and performance stability of second-hand walking machines:
1、 Processing accuracy evaluation
Geometric accuracy detection:
-Spindle accuracy: Use a dial gauge to check the radial runout and axial displacement of the spindle. For walking machines, the radial runout of the main shaft should generally be controlled within 0.005-0.01mm, and the axial displacement should be less than 0.005mm. It is also possible to insert a core rod into the spindle and use a dial gauge to measure the radial and axial runout of the core rod, in order to more intuitively reflect the accuracy of the spindle in actual work.
-Guide rail accuracy: Check the straightness, parallelism, etc. of the guide rail using level measurement method, autocollimator measurement method, or laser interferometer measurement method. The level can measure the overall straightness of the guide rail; Autocollimators are suitable for detecting straightness errors over long distances with high accuracy; Laser interferometers can be used for various types of machine tool guides and have lower requirements for environmental conditions.
-Tower accuracy: Check the tool position accuracy of the tower by installing standard tools and measuring the tool position accuracy using a dial gauge. The tool position accuracy error should be controlled within a small range, such as ± 0.01mm. You can also conduct a tool change test to observe the accuracy and repeatability of tool tower tool changes.
Work accuracy detection:
-Trial machining inspection: Select appropriate materials and simple machining processes for trial machining, such as machining a small shaft or sleeve part. During the trial machining process, observe the machining status of the equipment, including whether the cutting sound is normal and whether the chip discharge is smooth. At the same time, use measuring tools to measure the accuracy of processed parts, such as dimensional accuracy, shape accuracy, and surface roughness, to ensure compliance with requirements.
-Hole machining accuracy testing: If the drilling machine has functions such as boring and drilling holes, it can perform hole machining accuracy testing. Measure the dimensional accuracy, roundness, cylindricity, and positional accuracy between holes. For high-precision walking machines, the dimensional accuracy of the holes can be controlled within ± 0.005mm, and the roundness and cylindricity errors should be less than 0.003mm.
-Thread machining accuracy testing: Conduct thread machining tests to check the pitch accuracy, profile accuracy, and surface roughness of threads. Using tools such as thread plug gauges, thread ring gauges, or coordinate measuring instruments for measurement, the pitch accuracy error should generally be controlled within ± 0.005mm.
2、 Performance stability assessment
Observation of operational stability:
-No load operation test: Let the equipment run without load for a period of time, observe the overall operation of the equipment, and check for any abnormal phenomena such as vibration and shaking. You can gently place your hand on the bed of the equipment to feel its vibration. For a walking machine, the vibration during no-load operation should be very small. At the same time, check whether the movement speed of each axis is normal, and whether there are any jamming, crawling, or other phenomena during the movement process.
-Load running test: If conditions permit, conduct a load running test, gradually increase the cutting amount of the machining, observe the operation of the equipment under different load conditions, and pay attention to whether the equipment has overload alarms, significant accuracy decreases, or abnormal vibrations. This can help determine whether the maximum load capacity of the device meets the actual production needs.
Temperature stability test:
-Thermal deformation detection: After the equipment has been running for a period of time, use a laser interferometer or other thermal deformation measurement equipment to detect the thermal deformation of key components of the machine tool such as the spindle and guide rail. Thermal deformation can lead to a decrease in machining accuracy. Generally, it is required that the thermal deformation of key components should be controlled within a small range after stable operation of the equipment, such as the thermal elongation of the spindle should be less than 0.01mm.
-Temperature sensor monitoring: Install temperature sensors at key parts of the equipment to monitor temperature changes in real-time during equipment operation. Observe whether the temperature fluctuates within the normal range and whether the temperature difference between different components is too large. Excessive temperature difference may lead to uneven distribution of thermal stress in the machine tool, affecting performance stability.
Stability assessment of control system:
-System function testing: Check whether various functions of the CNC system of the equipment, such as programming function, tool compensation function, automatic tool changing function, etc., are working properly. Operate various function buttons and knobs of the CNC system, check whether they are sensitive and effective, and whether the display of the CNC system is normal.
-Program running test: Write some complex machining programs, including multi axis linkage, high-speed cutting and other programs, run these programs on the equipment, observe the operation and machining accuracy of the equipment. Check for program errors, crashes, garbled characters, and other issues, as well as whether the device's response speed and machining accuracy are stable during program operation.


