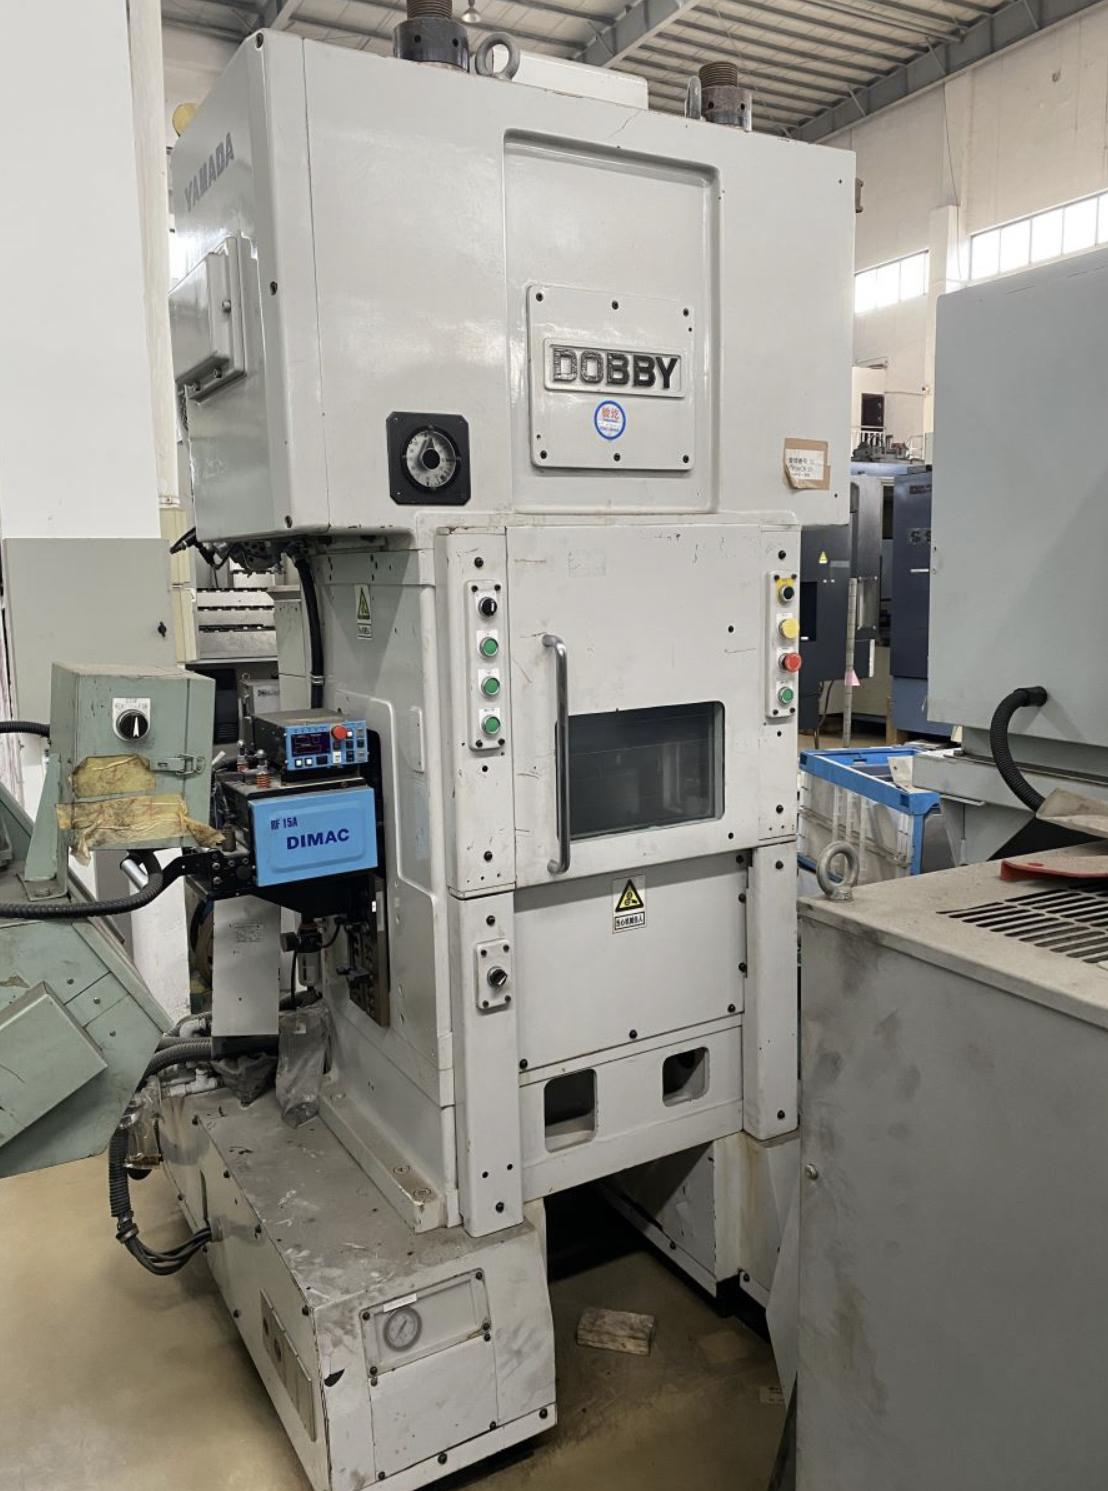
How to evaluate the accuracy of second-hand high-speed punching machines?
The accuracy of second-hand high-speed punching machines can be evaluated from the following aspects:
1. Check the flatness of the workbench
Tool usage: Use a level to measure the flatness of the workbench. Place the spirit level at different positions on the workbench and observe the position of bubbles in the spirit level to determine whether the surface of the workbench is flat.
Accuracy standard: For high-precision high-speed punching machines, the flatness error of the worktable is generally required to be within 0.05-0.1mm. If the flatness error is too large, it will cause unstable mold installation during the stamping process, thereby affecting the quality of the stamped parts.
2. Evaluation of slider motion accuracy
Straightness detection: Laser interferometers can be used to detect the straightness of slider motion. Laser interferometers can accurately measure whether the slider moves along a straight trajectory during its up and down motion. Under normal circumstances, the straightness error of slider motion should be controlled within a very small range, such as within ± 0.03mm/300mm stroke.
Verticality check: Use a dial gauge to measure the verticality between the slider movement and the worktable plane. Fix the dial gauge on the workbench, with the gauge head in contact with the side of the slider, causing the slider to move up and down, and observe the swing range of the dial gauge pointer. Generally, the verticality error is required to be around ± 0.05mm/300mm stroke.
3. Measurement of parallelism between upper and lower mold seats
Measurement method: Attach the dial gauge to the slider so that the gauge head contacts the surface of the mold seat, and then let the slider drive the dial gauge to move across the entire mold seat surface, recording the changes in the dial gauge reading. Then perform the same operation on the lower mold base.
Accuracy requirement: The parallelism error of the upper and lower mold seats is very important for ensuring stamping accuracy, usually requiring a parallelism error within 0.05-0.1mm. If the parallelism does not meet the standard, it will cause uneven force on the mold during stamping, shorten the mold life, and also affect the dimensional and shape accuracy of the stamped parts.
4. Stamping accuracy testing
Sample processing: Select appropriate materials and molds for sample stamping. For example, using metal sheets with uniform thickness, standard geometric shapes such as circles, squares, etc. can be stamped out through molds.
Dimensional and shape accuracy evaluation: Use tools such as calipers, micrometers, and coordinate measuring instruments to measure the stamped specimens. Check whether the dimensions of the stamped parts meet the design requirements, such as diameter, side length, thickness, etc. The deviation of dimensions should be controlled within a certain range. For precision stamped parts, the dimensional deviation may be required to be within ± 0.05mm. At the same time, observe the shape accuracy of the stamped parts, such as roundness, flatness, perpendicularity, etc., to evaluate the accuracy performance of the punch press in the actual stamping process.
5. Positioning accuracy detection
Positioning device inspection: Check the positioning device of the punch press, such as the positioning accuracy of the feeding mechanism. For high-speed punch presses with automatic feeding function, check the positioning accuracy of the feeding length and width.
Accuracy measurement: Measure the deviation between the actual position of the feed and the set position through trial feeding and actual stamping operations. Generally, the feeding positioning accuracy is required to be within ± 0.1mm to ensure that the material can be accurately fed into the mold for stamping, otherwise it will cause positional deviation and dimensional error of the stamped parts.
6. Repeat positioning accuracy test
Multiple stamping tests: Perform multiple identical stamping operations, such as continuously stamping 10-20 identical specimens.
Data analysis: Use measuring tools to measure the same parts of each specimen and compare the changes in specimen size and shape after each stamping. Punching machines with high precision in repeated positioning should maintain high consistency in the size and shape accuracy of the stamped parts during multiple stamping processes, and the dimensional deviation should be controlled within a small range, such as ± 0.03mm.


