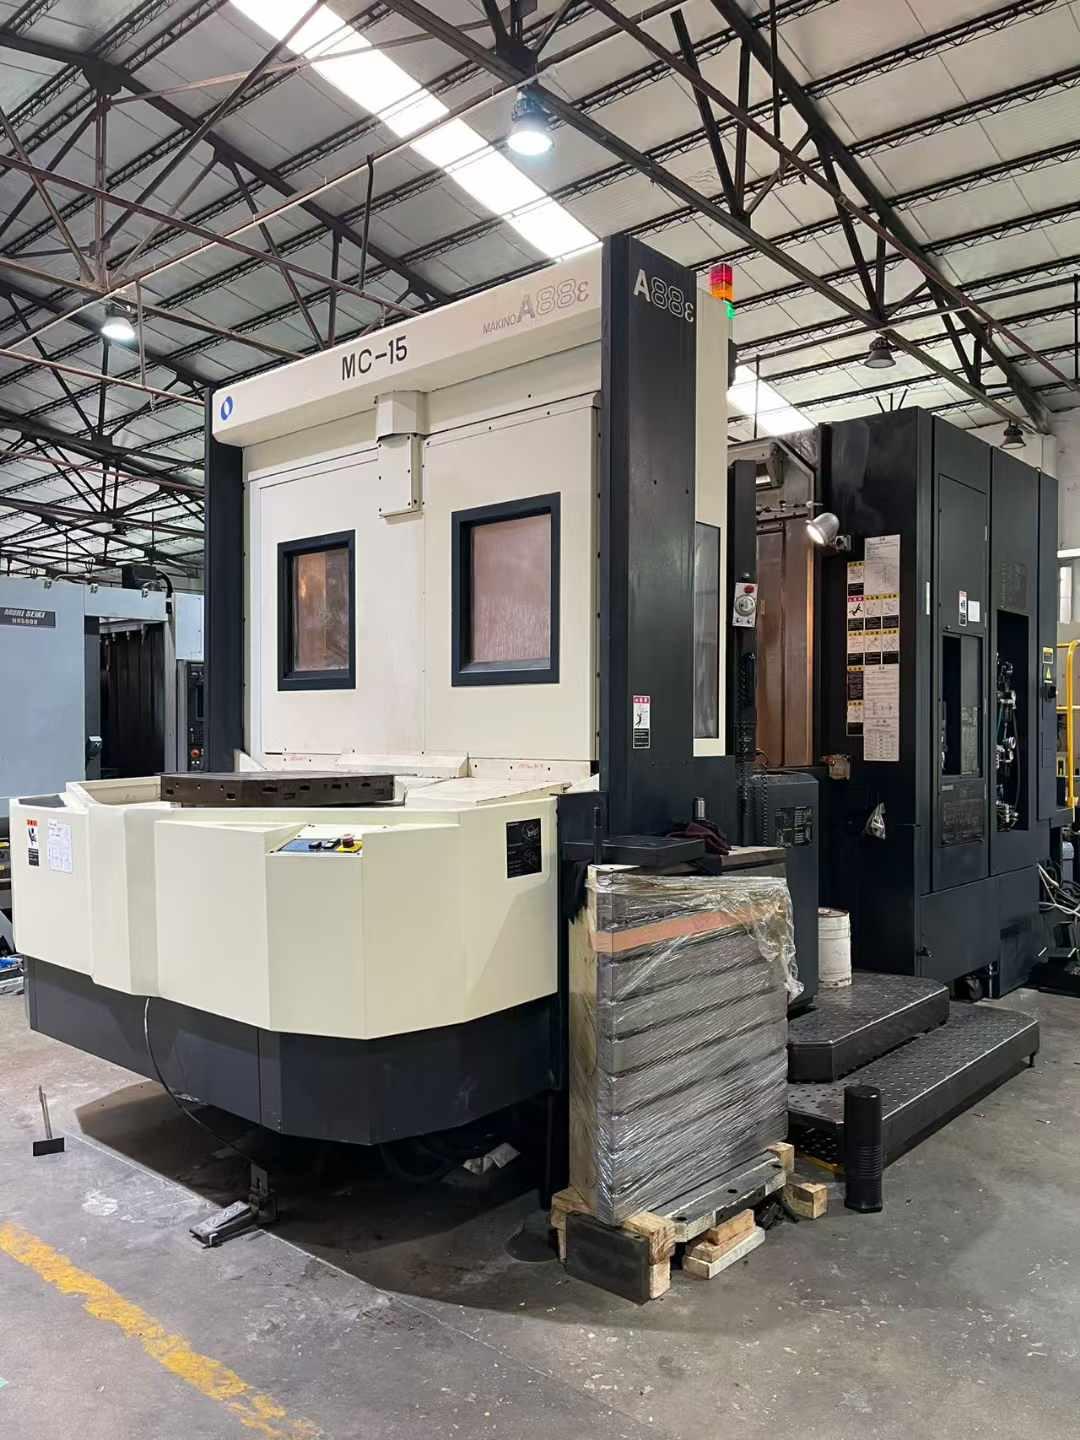
What should be noted when purchasing a second-hand machining center?
When purchasing a second-hand machining center, the following points should be noted:
1. In terms of equipment performance
Processing accuracy testing
-To check the positioning accuracy and repeatability accuracy of the machine tool. Sellers can be required to provide accuracy testing reports for their devices, or they can conduct simple testing themselves. For example, using professional tools such as laser interferometers to measure the positioning accuracy of each axis, under normal circumstances, the positioning accuracy of high-precision machining centers can reach ± 0.005mm - ± 0.01mm, and the repeated positioning accuracy can reach ± 0.003mm - ± 0.005mm.
-Process test specimens to test shape accuracy and surface roughness. For example, processing a cube specimen, observing its flatness, verticality, and other shape accuracy indicators, while checking whether the surface roughness after processing meets the requirements. For precision machining centers, the surface roughness Ra should be able to reach 0.8-1.6 μ m.
Mechanical transmission system inspection
-Check the wear of the guide rail and screw. Manually move the workbench and feel for any lag, looseness, or abnormal noise. For ball screws, severe wear can affect transmission accuracy. Generally, a preliminary judgment can be made by observing the gloss and wear marks on the surface of the screw. A severely worn screw may need to be replaced, which will increase additional costs.
-Check the accuracy and stability of the spindle. It can be evaluated by measuring the radial runout and axial displacement of the spindle. Under normal circumstances, the radial runout of the spindle should be less than 0.005mm, and the axial displacement should be less than 0.003mm. Meanwhile, observe whether there is any abnormal vibration of the spindle during high-speed rotation, which may be caused by bearing damage or imbalance.
Numerical Control System Inspection
-Confirm the brand, version, and functionality of the CNC system. There are differences in the operating interface, programming functions, and control accuracy among different brands and versions of CNC systems. For example, well-known brands such as Siemens and Fanuc have powerful and stable CNC systems.
-Check whether the operation of the CNC system is normal, including program input, editing, storage, and execution functions. Test whether the manual and automatic control of each axis, as well as various auxiliary functions such as tool compensation and coordinate system setting, are effective. You can also check if the system has any fault prompts or historical fault records, which can help understand potential issues with the equipment.
2. In terms of device history
Service life and frequency
-Understand the service life of the equipment. Generally speaking, equipment with a shorter service life has better performance and accuracy. At the same time, inquire about the frequency of device usage, such as the number of processing hours per year. If the device is used too frequently, it may lead to increased wear and tear on critical components. Usually, the economic service life of machine tools is around 10-15 years, but the specific situation also depends on factors such as equipment brand and maintenance.
Maintenance and upkeep records
-Require the seller to provide maintenance records of the equipment, including the time and content of regular maintenance, as well as information on the main components replaced. Good maintenance can extend the service life of equipment and improve its reliability. If the equipment lacks regular maintenance, it may hide various potential faults.
Repair history
-Inquire whether the equipment has experienced any major malfunctions, such as spindle damage, electrical system failures, etc. Understand the cause of the malfunction, repair time, and the recovery situation after repair. If the equipment has frequent maintenance records, especially those involving critical components, it may affect the performance and stability of the equipment.
3. Appearance and configuration
Appearance inspection
-Check the overall appearance of the device for obvious collision, deformation, rust, and paint peeling. These surface issues may suggest that there is also damage inside the device. For example, if there are collision marks on the appearance of the equipment, it may cause damage to the structural accuracy of the machine tool.
Configuration check
-Confirm whether the standard configuration of the equipment is complete, such as whether the tool magazine capacity and tool specifications meet the requirements, whether the automatic tool changing device is working properly, and whether the auxiliary systems such as the cooling system and lubrication system are intact. Check the tool changing speed and accuracy of the tool magazine. For machining centers, fast and accurate tool changing is one of the key factors in improving machining efficiency.
4. Price and after-sales aspects
Price evaluation
-Before purchasing, conduct research on the prices of processing centers of the same brand, model, and similar color in the market. Consider factors such as device performance, service life, and configuration to evaluate whether the price quoted by the seller is reasonable. To avoid losses due to excessively high prices, while also being alert to potential issues with low-priced equipment.
after-sale service
-Understand whether the seller provides after-sales service, such as the warranty period, warranty scope, and repair response time of the equipment. For second-hand equipment, some sellers may provide a certain period of warranty service, which can provide buyers with certain protection. At the same time, ask the seller if they can provide technical support, including equipment operation training, troubleshooting guidance, etc.


